Walkthrough: How to Fish Guide for Every Island
How to fish guide for the Steam release: follow the Lighthouse, Forest, Desert, Rocks, and Volcano route for fish, bosses, quests, and achievements.
New to How to Fish?
Every guide, by category
Map
Island, fish, NPC, boss, and quest locations in one place.
Read guideHubIslands
Island order and what unlocks each new destination.
Read guideHubAll Fish
Every fish, the bait it needs, and where to catch it.
Read guideHubBosses
Pufferfish, Shark, and other dangerous creatures explained.
Read guideHubQuests
Quest walkthroughs and the items that unblock them.
Read guideWhere most players land
Map Guide: How to Fish Map, Routes, and Unlocks
How to fish map for the Steam release: follow the Lighthouse, Forest, Desert, Rocks, and Volcano route, read radar colors, and hand in each boss trophy.
Read guideGuidesFish List: How to Fish All Fish, Baits, and Locations
How to fish all fish with the right lure: use Free, Hot Dog, Beginner, Standard, Professional, and Scientific lures by island, plus dedicated boss bait.
Read guideGuidesIsland Guide: How to Fish Islands in Unlock Order
How to fish islands in order: start at the Lighthouse, hand in boss trophies, follow the radar, and reach Forest, Desert, Rocks, Volcano, then the final route.
Read guideBossesPufferfish Guide: How to Fish Pufferfish with Carrot Bait
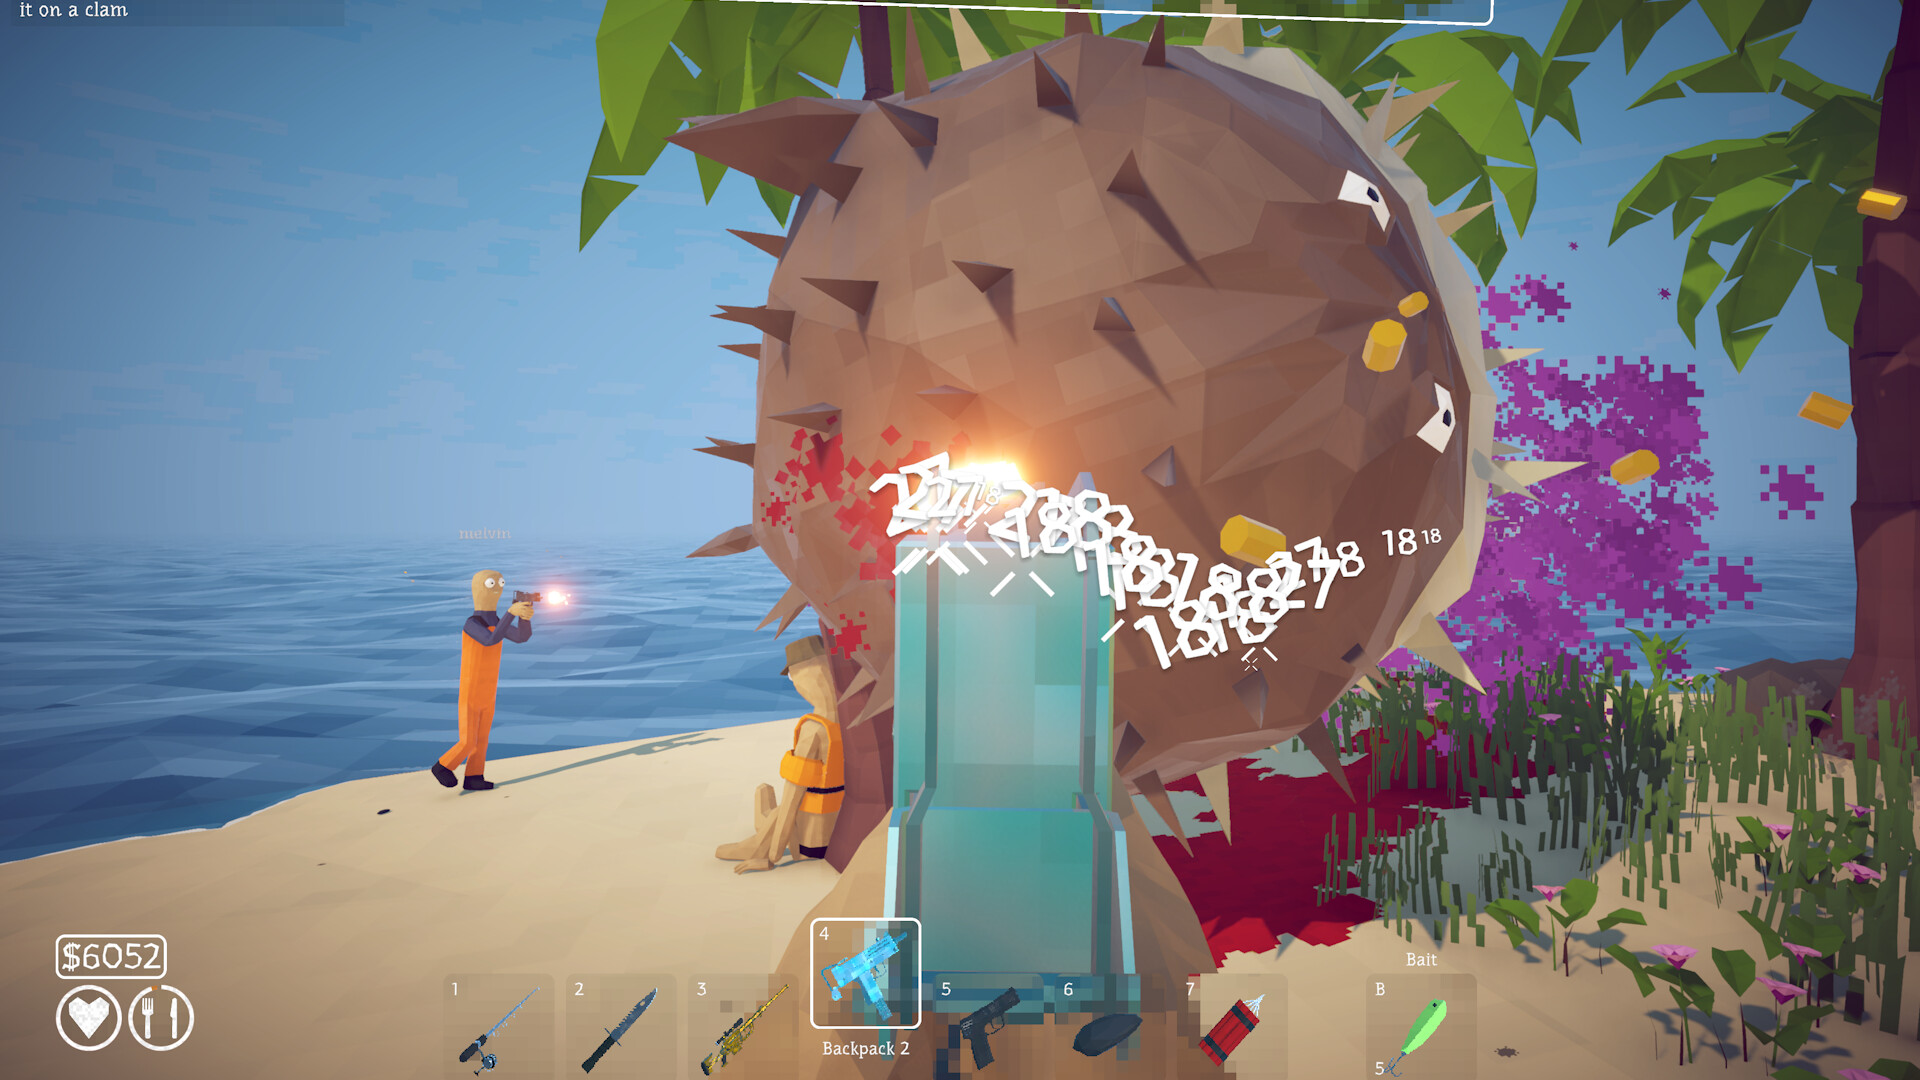
How to fish pufferfish: trade an Endangered fish for Carrot bait, circle palm trees with an upgraded SMG, avoid purple poison, and return the Tail for Island 4.
Read guideMultiplayerMax Players in the How to Fish Game: 8-Player Co-op Limit
How many players can play How to Fish? Online co-op supports up to 8 players after Patch 1.0.4, with private invite-only sessions and solo play explained.
Read guideUse this How to Fish guide index when you need the next concrete step, the correct lure, or the answer to a boss quest. The reliable route starts at the Lighthouse and moves through Forest, Desert, Rocks, and Volcano before the final mainland sequence. Each new area asks you to solve a local request, defeat a boss or complete a task, and hand in the named item that opens the next coordinates. The pages below keep those jobs separate so you can jump straight to the problem on your screen.
Start with the route, not a random catch
How to Fish combines fishing, combat, island exploration, and an intentionally absurd equipment economy. You catch creatures, sell or cook the results, buy better gear, and use quest items to reveal the next destination. The game does not give you one fixed checklist for every run, so a guide is most useful when it explains what unlocks the next step and why a particular item matters. Begin with the beginner guide if you are still on the opening island, or use the islands progression page when you already know the route has stalled.
The central rule is simple: killing a boss is not always the same as finishing its quest. You normally need to pick up a named drop, return it to the NPC who gave you the request, and wait for the new coordinates or reward. If the next radar dot is missing, check the relevant boss page before buying another lure. This hand-in step explains many apparent progression bugs reported in the collected guides.
The opening Lighthouse checklist
The Lighthouse is the starting location and the safest place to learn the economy. Early sources record clams as a way to earn money, a Basic Fishing Rod for $3, a free lure, and a Hotdog Lure for $1. A knife can be sharpened at the anvil, and the sharpened knife is recorded as dealing 20 damage, which makes the first creature and small combat tests less awkward. These are collected source values, so check the current in-game shop if a later patch changes a price.
The first important quest item is the Beer Can. Give the full can to the Lighthouse Keeper, receive the Empty Beer Can, and use that item as the special bait for the Spider Crab. After the Spider Crab is defeated, return its meat to the Keeper to receive the boat keys. The Beer quest guide follows this chain one action at a time and is the right page if the empty can or boat reward is not appearing.
Buy the radar before leaving the opening area if you can afford it. The collected route notes list the radar at $10, and the map sources describe the next destinations as colored dots rather than ordinary points of interest. A radar is therefore part of progression, not just a convenience for exploration. If you killed the Spider Crab but cannot see Forest, first confirm that the named quest hand-in happened and that the radar is equipped or available in the expected interface.
Follow the island progression
The main route is Lighthouse, Forest, Desert, Rocks, and Volcano, followed by the final mainland or military-boat sequence. Some source pages call the starting Lighthouse Island 1, while others number only the four destination islands, so stage numbers can look inconsistent. The names and hand-in items are more reliable than a number printed in a guide. Use the map page when you need the direction or radar color, and use this index when you need the task behind that location.
Forest is the next stop after the Spider Crab hand-in. The Forest route asks for three leeches, which lead to the Giant Piranha, and the boss sequence ends with a skeleton that advances the route to Desert. The all fish checklist explains which early lures serve ordinary catches, while the shark page covers a separate Island 3 quest that is easy to confuse with the main route. Keep boss bait and quest drops in your inventory until the relevant NPC has accepted them.
Desert is where the endangered-fish request and the Pufferfish fight meet. Find the Tourist under a palm tree, inspect catches for the Endangered Species tag, and exchange a valid fish for the Carrot used to summon Pufferfish. The boss drops a Pufferfish Fin, and returning that fin provides the coordinates for Rocks. The Pufferfish guide gives the movement plan, cover advice, and the replacement-bait rule if a fight is lost.
Rocks uses the Professional Lure for ordinary catches and continues the boss-and-trophy pattern. The collected walkthroughs describe a Tuna request followed by the Terrorizing Bird or Albatross sequence, with the bird head acting as the item that advances the route. From there, Volcano uses the Scientific Lure and leads into the whale experiment and Mutated Bowhead sequence. The exact labels used for later NPCs can vary between sources, so follow the visible quest item and mark any unexplained name difference as Pending confirmation rather than guessing.
Use the map when the next dot is missing
The map sources identify five main locations: the starting Lighthouse, Forest, Desert, Rocks, and Volcano. Their recorded radar colors are green for Forest, yellow for Desert, red for Rocks, and pink for Volcano. The collected directions place the green dot northwest, the yellow dot west, the red dot west, and the pink dot north relative to the route reference used by the source. Because the game uses coordinates and local orientation, treat the colors and named hand-ins as the strongest identifiers.
A boss can disappear without unlocking anything if its trophy is left floating in the water or carried past the wrong NPC. Search the area after the fight, pick up the named shell, skeleton, fin, head, or other quest object, and return to the character who requested the creature. A new dot normally appears after that conversation rather than immediately at the moment of death. The map guide includes a compact table for each color and trophy so you can compare your inventory with the route.
Match ordinary fish to the island lure
The all-fish materials describe a tiered lure system. The Lighthouse uses the Free Lure and Hot Dog, Forest mixes Free, Beginner, and Hot Dog options, Desert uses Standard, Rocks uses Professional, and Volcano uses Scientific. Bosses sit outside that progression and require their own dedicated bait, such as the Empty Beer Can, Carrot, or a boss lure earned or purchased for a specific encounter. Do not spend a boss item on ordinary fishing just because its name contains the word lure.
The first two areas have the most bait exceptions, which is why early collection attempts can feel inconsistent. Rock Crab and Shrimp are tied to Lighthouse options, while Island 2 lists Piranha, Mackerel, Gar, Pike, Goldfish, Cod, Perch, and Triggerfish across the free or Beginner choices. From Desert onward, the collected lists are easier to read because one regular lure tier covers the normal fish pool for that island. The all fish page separates regular species from boss creatures and flags roster details that need a fresh in-game check.
Choose a page by question
Each page owns one search intent instead of repeating the whole walkthrough. Follow the link that matches the item, platform, or system you are trying to understand. When two pages mention the same boss, the surrounding question is different: progression pages explain unlocks, while a boss page explains bait and combat.
| Search question | Use this page | What it answers |
|---|---|---|
| How do I reach the next island? | How to Fish islands | Route order, NPC hand-ins, bosses, and final travel |
| Where is the next dot? | How to Fish map | Radar colors, directions, trophies, and coordinates |
| Which bait catches a species? | How to Fish all fish | Regular fish, lure tiers, boss bait, and collection log |
| How do I summon Pufferfish? | Pufferfish boss | Endangered fish, Carrot, cover, poison, and Fin |
| How do I catch the shark? | Shark quest | Standard Boss Lure, Blue Shark, Grillmaster, and cooking |
| What is the beer for? | Beer quest | Beer Can, Keeper, Empty Beer Can, Spider Crab, and keys |
| How do skins work? | Skins guide | Drip creatures, Reel rewards, and Z or C controls |
| What is the Reel of Fortune? | Reel of Fortune | One-creature spins, cosmetic rarity, and legendary progress |
| Can I play on a console? | PS5 status or Xbox status | Current PC release and the official console statement |
| How do I install a mod? | Mods guide | Loaders, Mod Manager, host rules, and version checks |
A practical reading order
For a first run, read the beginner guide through the Lighthouse section, then keep the map and islands route open while you progress. When a quest asks for a creature, switch to the all fish checklist instead of trying random bait. When the request names a boss, use the matching boss page before casting the special item so the escape timer and drop hand-in do not surprise you.
After the main route, the collection and cosmetic pages become more useful than a second walkthrough. The fish log records creatures when they die, and the collected materials connect Collector with every creature and Fishipedia with every Drip variant. Reel of Fortune machines turn Drip creatures into random equipment skins, while the skins page explains how to cycle the appearance after the reward arrives. The max players page is the separate reference for current co-op capacity and private sessions.
Facts that need a fresh check
This index intentionally keeps a short list of version-sensitive facts rather than filling gaps with guesses. Exact fish rosters can change, precise Reel odds are not shown in the collected sources, and future PS5 or Xbox timing is not published in the official statement. Mod compatibility also depends on the current game patch and the version tested by each original mod page. Wherever a page says Pending confirmation, use the in-game prompt or the developer's latest announcement as the authority.
The useful part of this guide is the relationship between an item and the next action. Buy the local lure for normal fish, save dedicated bait for the named boss, collect the trophy after the kill, and return to the requesting NPC. That loop is consistent across the collected island, map, and quest sources even when a source uses a different stage number. If your screen shows a different label, preserve the visible item and report the exact version before treating it as a new mechanic.