Island Guide: How to Fish Islands in Unlock Order
How to fish islands in order: start at the Lighthouse, hand in boss trophies, follow the radar, and reach Forest, Desert, Rocks, Volcano, then the final route.
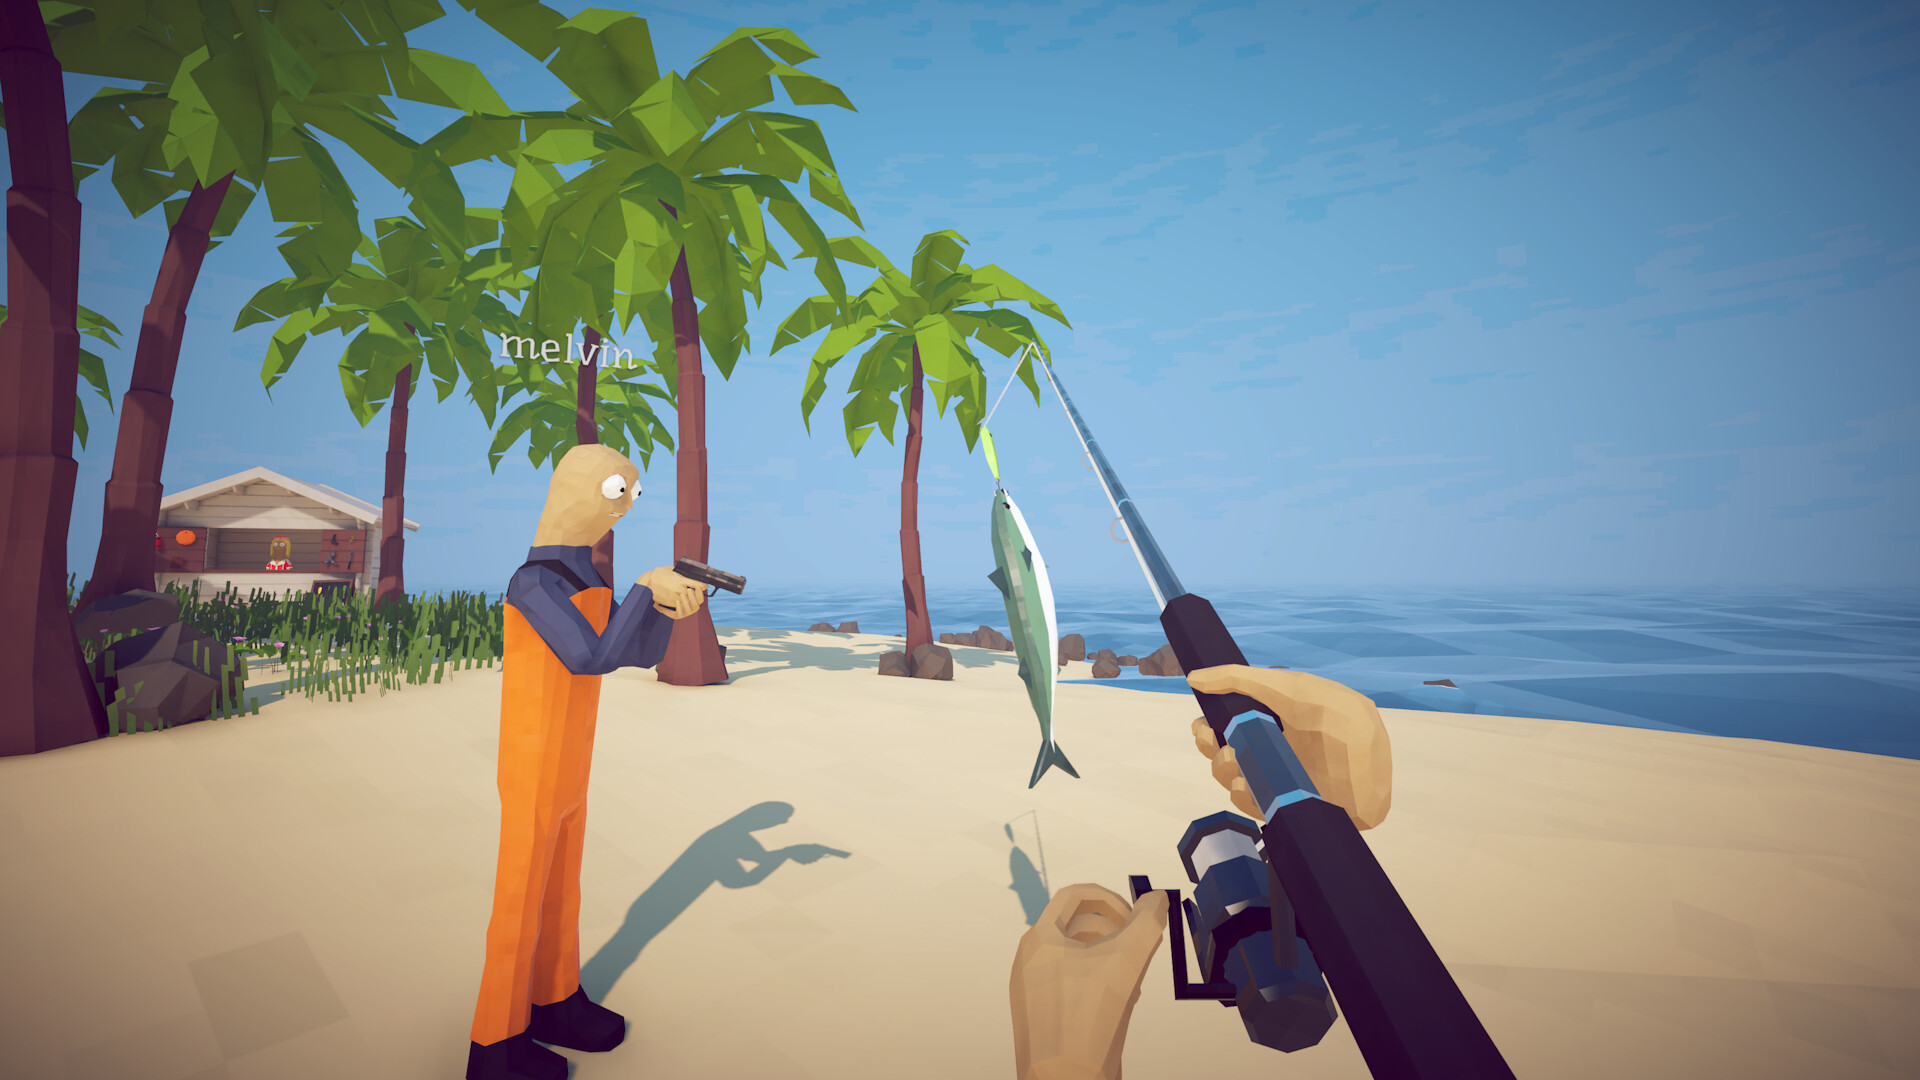
The How to Fish island order is Lighthouse, Forest, Desert, Rocks, and Volcano, followed by the final mainland or military-boat sequence. Progress is not opened by a boss kill alone: finish the local request, collect the named trophy, and hand it to the NPC who started the quest. The radar then shows the next destination as a colored dot. If your guide uses different island numbers, trust the location name and the trophy rather than the number.
Route at a glance
Every island follows the same useful loop: arrive, earn or buy the right bait, solve an NPC request, fight the local boss or complete the local task, and return the requested object. The reward is usually a new coordinate, a key, or the next bait chain. The table uses the names repeated across the collected map and progression sources. Later NPC labels and exact stage numbering are marked Pending confirmation where the source set is not uniform.
| Location | Main task recorded in the sources | Item or result that advances the route |
|---|---|---|
| Lighthouse | Beer Can to Keeper, Empty Beer Can to Spider Crab | Spider Crab meat, then boat keys and radar |
| Forest | Three leeches, modified bait, Giant Piranha | Giant Piranha skeleton and Desert coordinates |
| Desert | Endangered fish to Tourist, Carrot summon, Pufferfish | Pufferfish Fin and Rocks coordinates |
| Rocks | Professional lure, Tuna, Terrorizing Bird or Albatross | Bird head and Volcano route |
| Volcano | Whale experiment, Fish Bucket, Mutated Bowhead | Military boat key or final mainland sequence |
Some source pages call the Lighthouse Island 1, while others use Island 2 for Forest and Island 3 for Desert. The difference is a counting convention, not a second route. The collected map consistently names five main locations, and the radar colors help confirm them: green Forest, yellow Desert, red Rocks, and pink Volcano. Use the map guide when the route is correct but the direction is unclear.
The progression rule that prevents most stalls
The moment a boss dies, do not assume the next island is ready. Search the ground and water for the named object, because ordinary meat and the actual trophy can be separate drops. Carry the trophy back to the NPC who made the request and complete the dialogue. Only then should you inspect the radar for the next colored dot.
This distinction appears at every major transition. Spider Crab meat returns to the Lighthouse Keeper, the Giant Piranha skeleton advances the Forest step, the Pufferfish Fin belongs with the Tourist, and the later bird or whale objects belong to their own route characters. Selling, cooking, or abandoning the wrong drop can make a completed fight look like an incomplete quest. Keep anything with a unique quest name in your inventory until the hand-in is visibly accepted.
Lighthouse: prepare the first trip
The Lighthouse is both the starting beach and the first economy tutorial. The collected guides record clams as an early cash source, a Basic Fishing Rod for $3, a Free Lure, and a Hotdog Lure for $1. The knife can be sharpened at the anvil, and the sharpened knife is recorded as dealing 20 damage. These values are from the collected source snapshot, so compare them with the current shop if a later patch changes a price or damage value.
The Beer Can starts the first important chain. Give the full can to the Lighthouse Keeper, receive the Empty Beer Can, and equip that item when you are ready to summon Spider Crab. The Beer quest guide keeps this specific chain separate from ordinary fishing, which is useful because the can is a quest object rather than a normal sellable catch. After the Spider Crab fight, bring the meat back to the same Keeper.
The Keeper's reward is the boat keys, and the radar is the tool that turns the next coordinate into a visible route. The collected early guides list the radar at $10. Buy it when the opening cash loop allows, then look for the green Forest marker. If no dot appears, check the Spider Crab meat hand-in before trying to sail into unexplored water.
Forest: Giant Piranha opens Desert
Forest is the next location after the Spider Crab transition. The progression material records a request involving three leeches, which are taken to the relevant NPC and turned into modified bait for the Giant Piranha. The boss encounter can include smaller creatures, so keep moving and preserve the quest item after the fight. The important progression drop is the Giant Piranha skeleton described by the collected route source.
Return the skeleton to the NPC who requested the encounter. That hand-in reveals the Desert route, shown as the yellow radar dot in the collected map directions. Normal Forest fish use a mixed early lure set, while the Giant Piranha requires its dedicated modified bait. The all fish checklist lists the regular Forest choices so the boss lure is not spent on a normal cast.
Forest is a good place to make the first deliberate equipment decision. The collected walkthrough recommends improving weapons before the later boss fights, but it does not require a single invented loadout for every player. Sell safe early catches, keep enough money for bait, and do not trade away quest drops. A stable inventory is more useful than arriving at Desert with a slightly larger cash total and no progression item.
Desert: Pufferfish opens Rocks
The yellow Desert marker leads to the Tourist's request. He sits under a palm tree and asks for a fish carrying the Endangered Species tag, so inspect each catch before selling, cooking, or eating it. Needlefish and Seahorse are confirmed examples in the collected material, but the label is the real requirement rather than one fixed species. Give a valid endangered catch to the Tourist and receive the Carrot.
The Carrot is dedicated Pufferfish bait. Equip it and cast when your weapon, healing food, and movement space are ready, because the source reports that the Carrot is consumed when used. The Pufferfish page explains how to use palm trees as cover, watch the white escape bar, and avoid the purple poison that appears later in the fight. If the boss escapes or the attempt is lost, the collected source says to find another endangered fish for a replacement Carrot.
After Pufferfish dies, collect the Pufferfish Fin rather than ordinary Meat Chunks. Take the Fin back to the Tourist and complete the conversation. The reward is the next set of coordinates, which turns the red Rocks marker into the next route destination. If the Fin is missing, search all loose drops before leaving the Desert because the kill itself does not finish this transition.
Rocks: the bird hand-in opens Volcano
Rocks is the red marker and the location where the regular fish route moves to the Professional Lure. The progression sources describe a Tuna objective using the Professional Boss Lure, followed by the Terrorizing Bird or Albatross encounter. The wording differs between sources, but both describe a bird-related boss drop. Treat the exact display name as Pending confirmation if your build shows only one of these labels.
The route item is the bird head described by the collected walkthrough. Keep it separate from Tuna meat and other items, then return it to the NPC who gave the request. The Shark guide is about a separate Island 3 Blue Shark and Grillmaster quest, so do not use its Standard Boss Lure for the Rocks progression. This separation prevents the tier names from making two unrelated boss chains look interchangeable.
Rocks also rewards careful movement and ranged damage preparation. The collected source mentions the Shotgun, Uzi, Sniper, and cover as useful options for the later fights, but it does not require one universal weapon for every save. Upgrade the weapon you can control and keep the Professional Boss Lure reserved for the Tuna step. Once the bird head is accepted, check for the pink Volcano marker rather than assuming the boat is still locked.
Volcano: whale experiment and the final route
Volcano is the pink marker and the last main island in the collected map convention. Regular catches use the Scientific Lure, while the late progression source describes a scientist or military whale experiment. The Fish Bucket begins the Bowhead Whale sequence, and the collected boss table then pairs the Bowhead Whale with the Mutated Bowhead Whale. Exact NPC labels and the number of local interactions are Pending confirmation where the source pages disagree.
Follow the visible quest items instead of treating every whale drop as ordinary fish. The whale route leads through the volcano area, then to a military boat key and the final mainland or end-credit sequence in the collected walkthrough. Keep the Mutated Bowhead-related item until the requesting character has accepted it. If the final marker does not appear, review the current dialogue and inventory before repeating the boss.
The Volcano route is also where a collection run can continue after the story objective. The Scientific Lure covers the recorded regular catches, and the all fish page lists the repeated names without mixing them with the whale bosses. The exact number of scientist feeds or native fish needed is Pending confirmation because the source descriptions are not identical. Do not turn one source's count into a universal rule without checking the current prompt.
Money and gear choices across the route
The collected island sources describe a simple economy: catch creatures, sell the result, and spend the money on bait, weapons, food, engines, and other equipment. A firearm is a practical early priority because later island bosses are fought at range, while a boat engine upgrade helps travel between the named coordinates. Fully upgrading one reliable weapon is presented as more useful than spreading every purchase thinly across several options.
Cooking also becomes relevant after the Grillmaster step on Island 3. The collected shark material records cooked fish as a source of a 1.5x sale multiplier when the timing is handled correctly, while a burnt item loses value and can be bad to eat. That makes ordinary fish useful for both health or hunger and the cash needed for later boss bait. Keep quest fish and trophies out of the cooking loop until their hand-in is complete.
Endgame and achievements
The collected sources list 28 Steam achievements, including Collector for every creature and Fishipedia for every Drip variant. Other route-related achievements include an Easy boss condition and a Handyman final-boss condition using bare hands. These goals do not change the island unlock order, but they give a reason to return after the credits. The exact achievement trigger should be checked against the in-game description when the wording is shorter than the source summary.
After the final sequence, the collected notes report that all five locations are open for free movement and that purchases or upgrades remain intact. This is the convenient phase for filling the fish log, farming Drip creatures, and visiting Reel of Fortune machines without repeating every hand-in. It does not mean the original route can be skipped during the first story run. Use it as post-story access, not as evidence for a hidden early shortcut.
Stuck-on-an-island checklist
If the next island is missing, ask these questions in order: did the boss actually die, did you pick up the named trophy, did the requesting NPC accept it, and did you check the radar after the conversation? Then confirm that you are using the right color: green Forest, yellow Desert, red Rocks, or pink Volcano. If the source and your screen use different stage numbers, compare the named island and item instead.
This checklist is intentionally conservative. The stable facts across the collected sources are the route, the NPC hand-in pattern, the color markers, and the named progression drops. Exact later labels, final interaction counts, and a few roster details remain Pending confirmation. Keep those gaps visible rather than inventing a number, character name, shortcut, or reward.
Frequently Asked Questions
Quick answers to the most common How to Fish questions.
What order do the How to Fish islands unlock in?
The collected route is Lighthouse, Forest, Desert, Rocks, and Volcano, followed by the final mainland or military-boat sequence. Source numbering differs, so use the location names and trophy hand-ins as the reliable order.
How do I unlock Forest?
Complete the Beer Can and Spider Crab chain, return the Spider Crab meat to the Lighthouse Keeper, take the boat keys, and use the $10 radar to find the green Forest dot.
Why did my next island not unlock after a boss?
The kill and the unlock are separate steps. Pick up the boss's named trophy, return it to the NPC who gave the request, and check the radar after the hand-in.
What happens after the last island?
The collected sources describe the Volcano whale route leading to the final mainland sequence. After the credits, all five locations are reported to be open for free travel with upgrades intact.